FormStamp
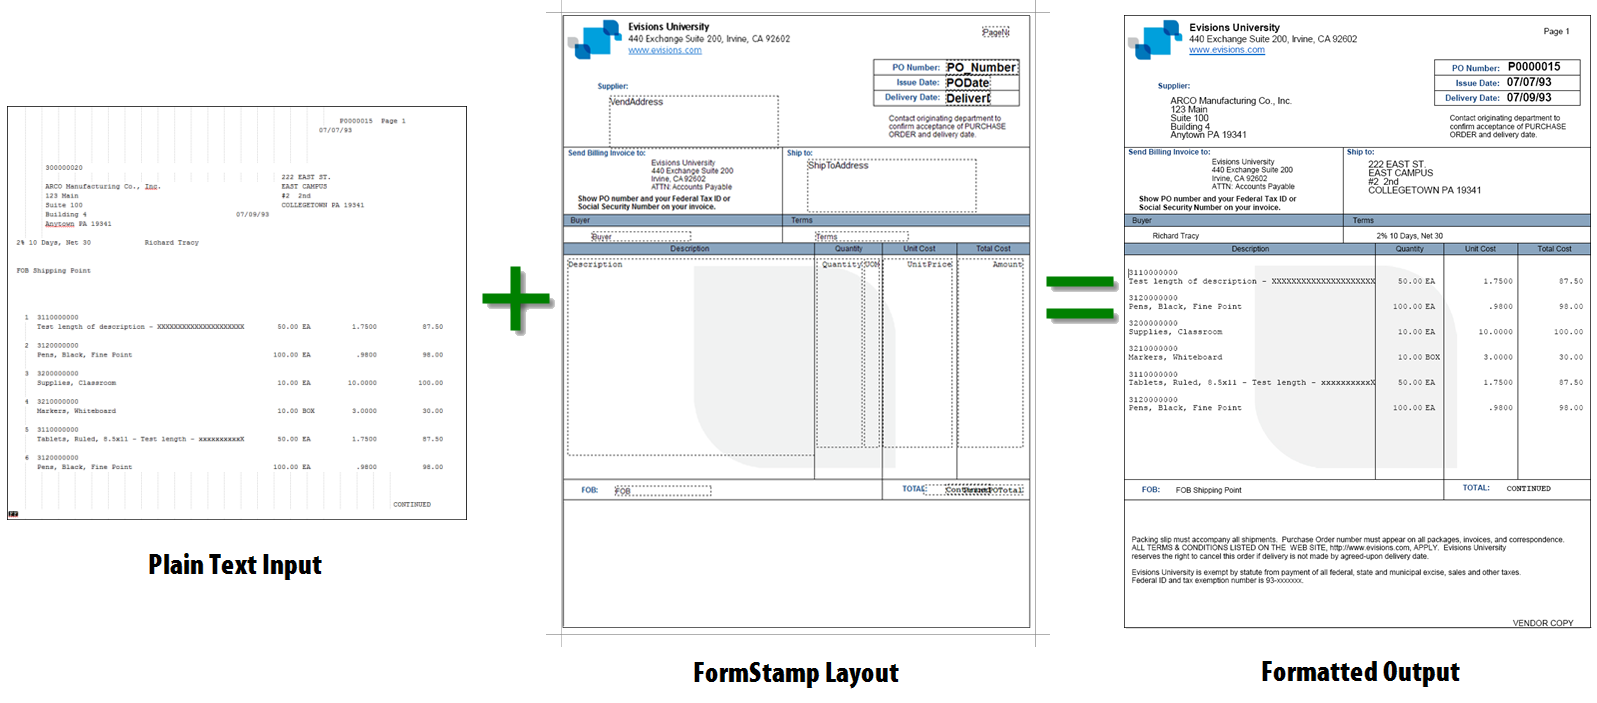
The FormStamp component in FormFusion is where you design the graphical layout of your form. It is a "what-you-see-is-what-you-get" editor, where you create areas of text, draw lines and shapes, insert pictures (logos, signatures, watermarks, etc.), and add data field objects from either the input file or from a database. A template can have any number of FormStamps. You can designate certain FormStamps to print only on the front or back side of a page, or to be added on top of another FormStamp based on certain conditions (conditional printing at the FormStamp level). By default, all FormStamps are applied to each page of the input file as it is processed. You also have the option of designating a FormStamp to print on a new page, which allows you to have multiple pages of output for each page in the input file.
Adding a FormStamp to the Template
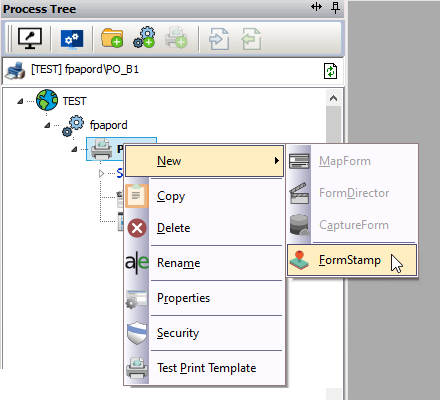
To add a FormStamp, right click on the print parameter and go to New -> FormStamp.
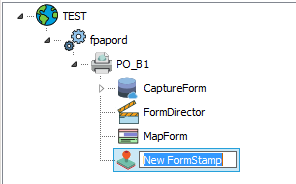
Give the FormStamp a descriptive name (Front Side, Back Side, File Copy, etc.).
Note: if you will be printing FormStamps on top of each other or using them to insert new pages, the FormStamp order does matter, since FormStamps are processed sequentially from top to bottom, alphabetically according to their names. To reorder the FormStamps, change the names so that they are alphabetical in the order that you want them.
Double click on the FormStamp to open the editor in the main window.
Toolbars
When a FormStamp is open, you will see five FormStamp-specific toolbars at the top of the screen:
Alignment Tools
The alignment tools allow you to position objects relative to one another. Select the first object, hold down the Shift key, and then select one or more additional objects. When you use the alignment tool, the additional objects will be adjusted relative to the first object you selected.

| Icon | Description |
|---|---|

|
Toggle the alignment guidelines. Alignment guides display blue lines when moving an object to help you position it relative to the other objects on the form. |

|
Align selected objects by their bottom edge. |

|
Align selected objects by their left edge. |

|
Align selected objects by their right edge. |

|
Align selected objects by their top edge. |

|
Align selected objects with each other horizontally. |

|
Align selected objects with each other vertically. |

|
Force selected objects to intersect. This is a fast way to join two line segments precisely. |

|
Force selected objects to meet at a point. This is a fast way to join two line segments precisely. |

|
Lock selected object in place to prevent it from being moved accidentally. Locked objects will not move when dragged or aligned using the alignment tools. |
Note: Many of the alignment tools are only available when you have more than one object selected.
You can also use the mouse to select multiple objects at once. Click on the FormStamp in an area that has no objects, then drag the cursor around some objects to "rubber-band" them together. Objects selected in this manner will align to the most extreme object-- for instance, when aligning left, all objects will be aligned to the object that was furthest to the left.
Drawing Tools
The drawing tools let you add objects to the FormStamp, and adjust some common object properties.

| Icon | Description |
|---|---|

|
Change draw mode to select objects |

|
Deselect all selected objects |

|
Change draw mode to draw lines |

|
Change draw mode to rectangle objects |

|
Change draw mode to draw line grids |

|
Change draw mode to text objects |

|
Change draw mode to RTF objects |

|
Change draw mode to HTML objects |

|
Draw a pre-defined data field object |

|
Change draw mode to image objects |

|
Fill Color |

|
Text Color |

|
Line Color |

|
Change the width of a line, rectangle, or grid object. |
To edit the properties of an object, double-click on the object.
Formatting Tools
These options are only available to objects that do not allow you to apply different formatting within the object. To change formatting for text in an RTF or HTML object, double-click on the object to open it and use the formatting tools in the Object Properties dialog.

| Icon | Description |
|---|---|

|
Turn on or off bolding of text |

|
Turn on or off italicizing of text |

|
Turn on or off underlining of text |

|
Align text to the left |

|
Center text |

|
Align text to the right |
Applying formatting to an object formats all text within that object.
View Tools

| Icon | Description |
|---|---|

|
Turn on or off the display of grid lines to help you lay out the form. |

|
Turn on or off snapping of objects to grid. If snapping is on, when you move an object it will naturally align to the gridlines. |

|
Zoom. Select a percentage you would like to zoom to for scaling the FormStamp work environment. |
.png)
|
Toggle data preview. With preview off, you will only see the names of the FormStamp objects. With preview on, FormFusion pulls sample data from the sample input file in MapForm to show how the data will appear on the form. If some of the data comes from CaptureForm queries, the preview shows you whatever data you entered in the "Sample" field for that variable. |

|
Refresh the preview, if you loaded a new input file in MapForm. |

|
Enter the page number from the sample input file that you would like to use in the preview. |

|
Preview previous page |

|
Preview next page |
FormStamp Topics
Related Topics
- Process Tree
- Working with Folders
- Working with Processes
- Working with Print Parameters
- Saving Your Data